
Blur Background Online
Drop a photo, click your subject and dial the blur — portrait-style depth in seconds, processed right in your browser. Free, no signup, nothing uploaded.
Drag & drop an image here
or click to browse — JPG, PNG, WebP and more
Files are processed entirely on your device — nothing is uploaded to any server.
Depth that follows the subject
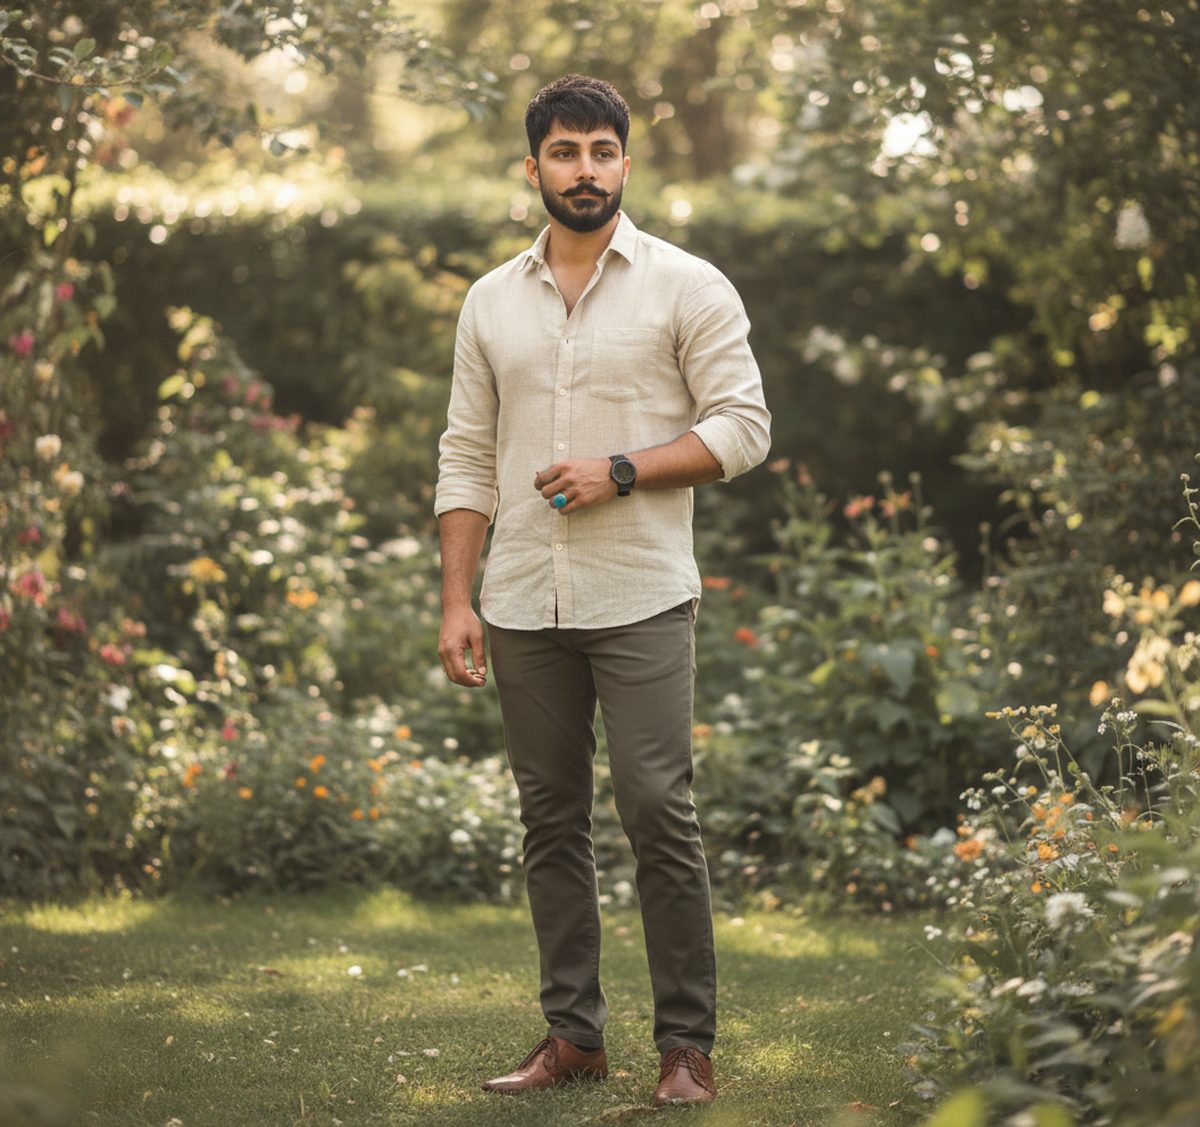
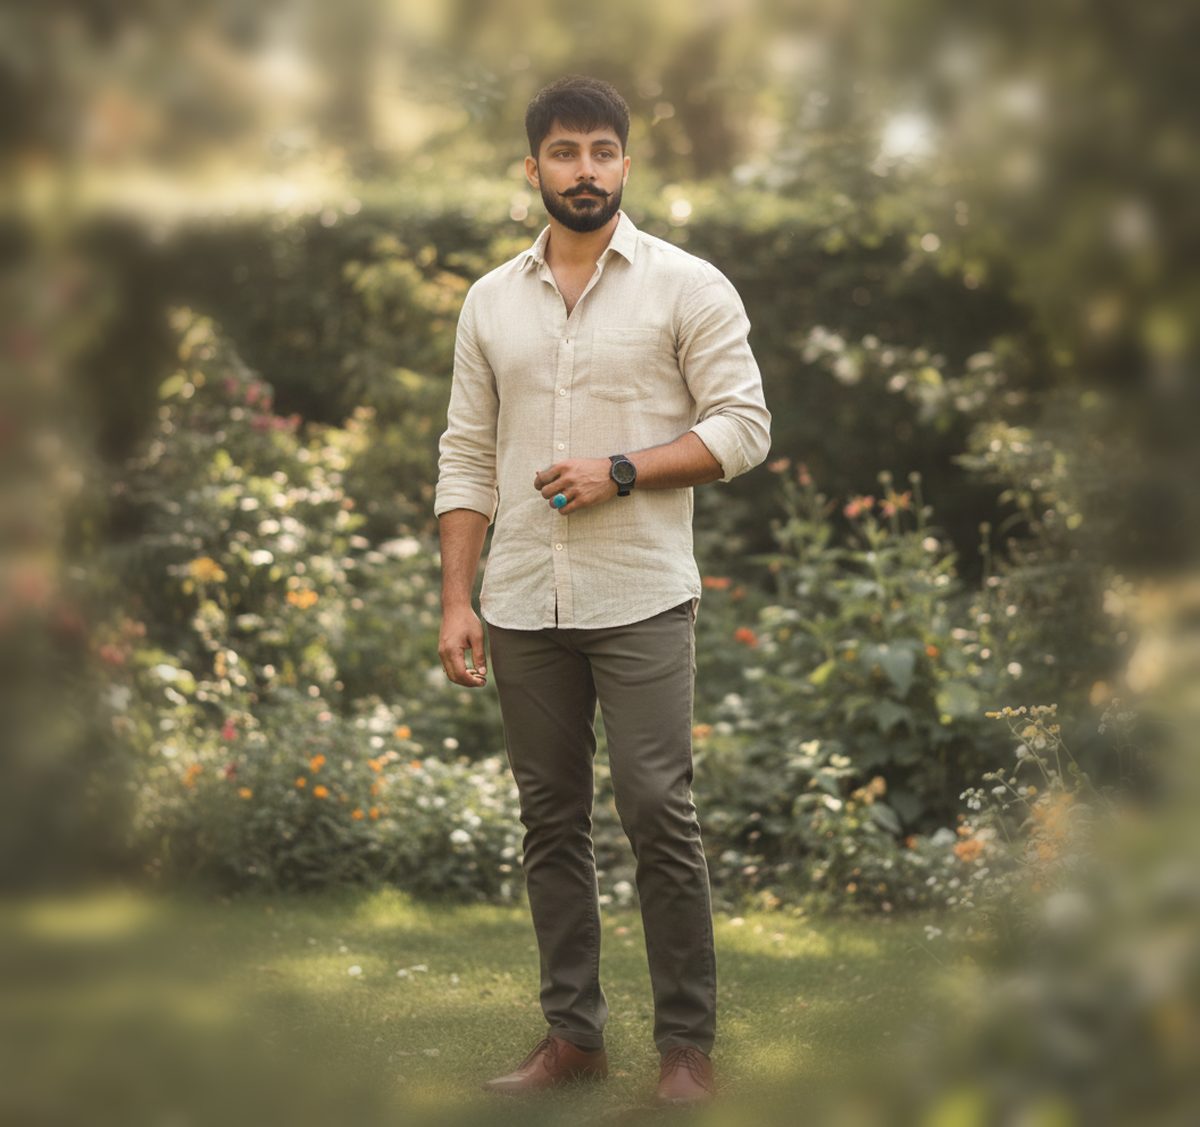
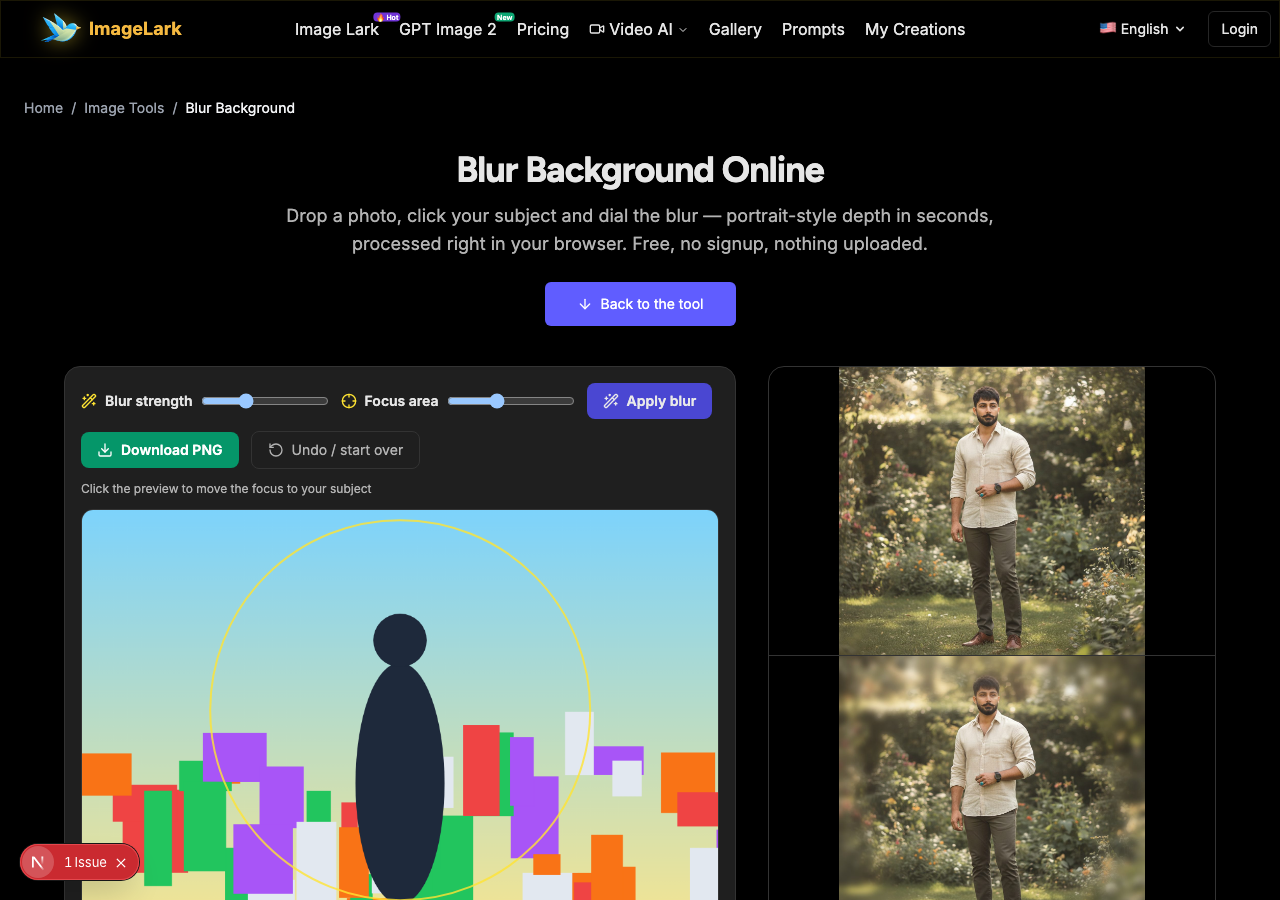
The original photo on top; the same frame with a strong radial blur below — the subject stays sharp while the garden behind melts into smooth color.
Free & unlimited
Blur as many photos as you like.
100% private
Processed on your device — never uploaded.
Click-to-focus
Put the sharp zone exactly on your subject.
Lossless PNG output
Download clean, no watermark.
Free Online Background Blur Tool
This free online background blur tool blurs photo backgrounds with a radial focus effect: the area you click stays perfectly sharp while everything else melts into smooth, adjustable blur — the portrait-mode look, without needing a portrait-mode camera. A strength slider sets how strong the blur is, and the focus circle sets where the sharpness lives.
Everything runs inside your browser tab: blurring happens locally with the Canvas API and your photo never touches a server, so there is no upload wait, no file limit and no privacy trade-off. It is the quick fix for busy backgrounds — cluttered rooms, distracting crowds, messy shelves — and for adding subject separation to photos shot without depth control.
How to Blur a Photo Background in 3 Steps
STEP 1
Add your photo
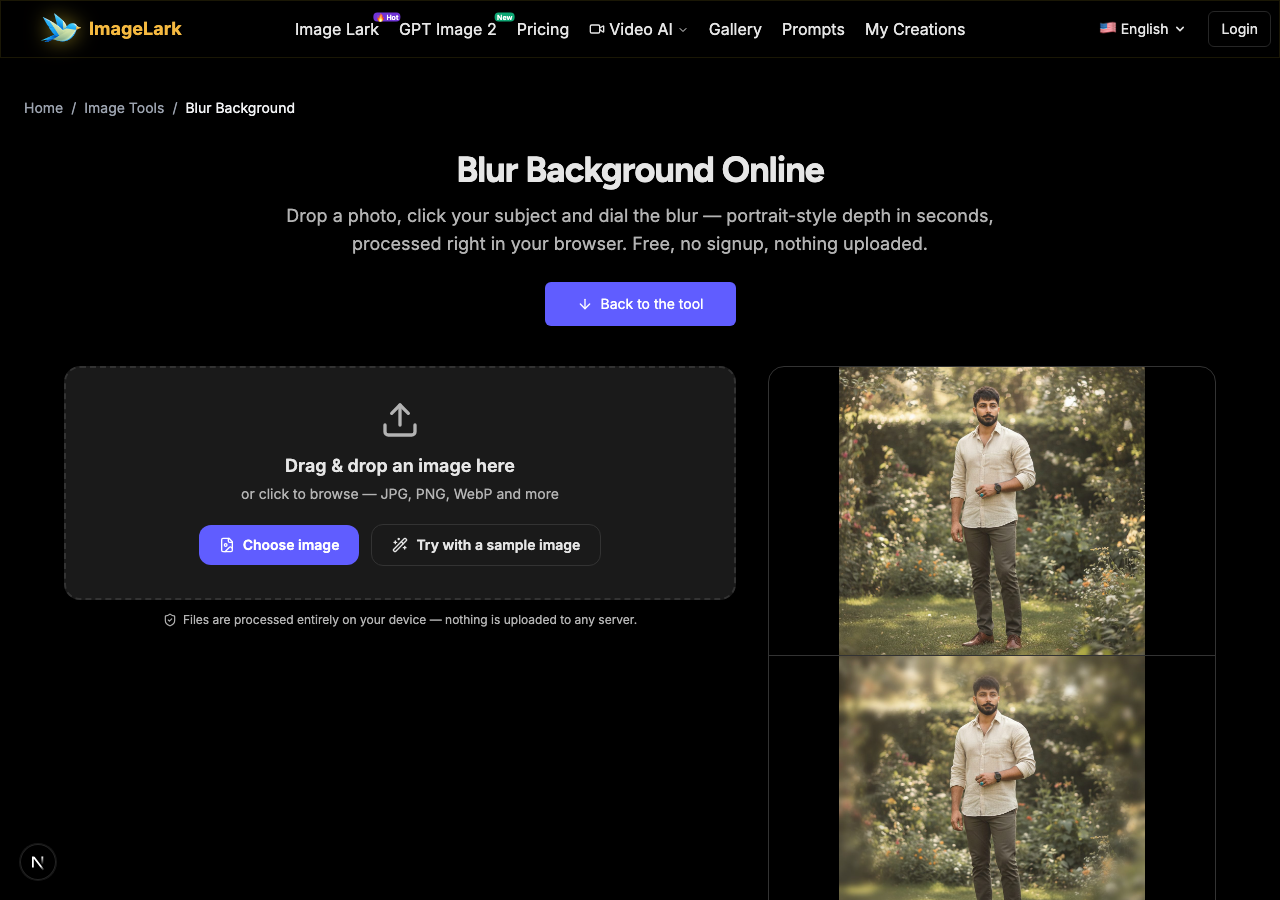
Drag and drop a JPG, PNG or WebP file onto the tool above, or click to browse. You can also press “Try with a sample image” to experiment right away.
STEP 2
Set the focus and strength
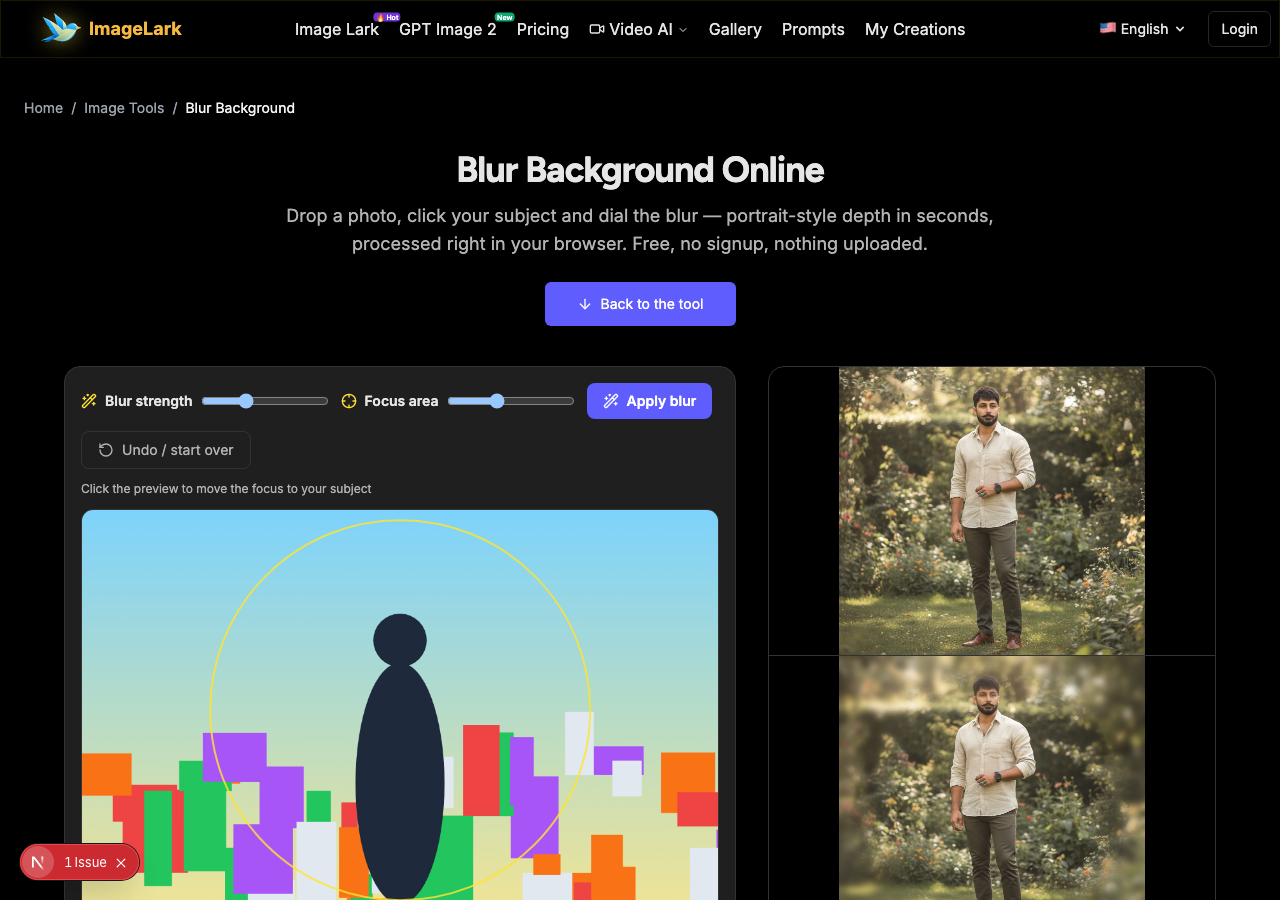
Click the preview where your subject is — the focus circle moves there. Dial the blur strength with the slider, set the focus area size, and press “Apply blur”. The preview shows the sharp subject against the melted background.
STEP 3
Download the result
Happy with the depth? Download it as a clean, watermark-free PNG. Reposition the focus or change strength any time — the original stays untouched.
Why Use ImageLark to Blur Backgrounds
Free with no limits
Blur one headshot or a whole set of product frames — no credits, no account, no watermark. The background blur runs as many times as you like; it is a browser tool, not a trial.
Radial focus, not a flat blur
The effect is a smooth gradient: your subject stays fully sharp at the center, and background blur fades in gradually around it — the natural portrait-mode look instead of a uniform smear.
Your photos never leave your device
Blurring runs locally in your browser tab. Nothing is uploaded or stored — private photos stay private, and every adjustment is instant with no server round-trip.
Click-to-focus precision
Move the sharp zone with a single click anywhere on the preview, resize the focus area, and watch the depth change live — no layers, no masks, no manual painting.
Blur Background vs Remove Background vs Real Bokeh
Three ways to deal with a busy background, and they do different jobs. Background blur keeps the original scene but softens it — the subject stays in its environment with portrait-style depth. Background removal deletes the scene entirely and gives you a transparent cutout to place anywhere. Real bokeh is optical: it is created by a wide camera aperture at the moment of capture, with natural circular highlights and lens character.
Blur the background when you want to keep the setting but quiet it down — cluttered offices, messy shelves, passers-by — or when a photo needs more subject separation than the camera gave it. Remove the background instead when the image is heading onto a new backdrop, a product page or a design layout. And do not expect a synthetic blur to pass for real bokeh up close: the gradient is smooth and convincing at normal sizes, but optical highlights and lens edge character only come from glass.
The three tools here split the same jobs cleanly: blur for depth on the original scene (this page), the AI background remover for transparent cutouts, and change-photo-background for dropping in entirely new scenes. They stack well too — blur a kept background lightly for realism, or cut out and blur whatever you place behind the subject for controlled depth in composites.
Nearby tools: the AI object remover deletes distractions outright, the pixelate tool hides them with mosaic, and the image splitter cuts photos into tiles.
Use Cases: Who Blurs Photo Backgrounds
Portraits & headshots
Add portrait-mode depth to photos shot without it — faces stay crisp while rooms, gardens and streets melt into smooth, flattering color.
Product photos
Soften cluttered shelves and tabletops around a product so it pops — without cutting the product out or losing the natural setting.
Privacy touches
Soften identifiable background details — addresses, screens, documents on a desk — before sharing a photo, keeping the subject intact.
Frequently Asked Questions
How do I blur the background of a photo?
Drop your photo on this page, click your subject in the preview to place the focus, dial the blur strength, and press “Apply blur”. The background melts into a smooth radial gradient while your subject stays sharp — then download the PNG. Background blur runs entirely in your browser with nothing to install.
Can I blur only part of the background?
Yes — the focus circle controls exactly where sharpness ends and blur begins. Click to move it onto your subject and resize the focus area; everything outside the circle receives the blur, fading in gradually so there is no hard edge.
What's the difference between blur and bokeh?
Bokeh is the optical quality of out-of-focus highlights created by a real camera lens, including circular highlight shapes and lens character. This tool produces a synthetic radial blur — visually similar depth at normal viewing sizes, but it does not fake optical highlight geometry.
Can I un-blur a background later?
No — like pixelation, a strong blur genuinely discards detail, so keep your original file. The tool leaves your source photo untouched and produces the blurred result as a separate download, so you always keep both versions.
Does blurring work with any subject shape?
The focus area is circular, so it suits subjects that fit a round zone — faces, head-and-shoulders portraits, single products. For complex silhouettes (a bike, a group spread across the frame), a smaller focus circle on the key area plus moderate blur usually looks best; AI cutout-based blur is a future upgrade.
Is the background blur tool free?
Completely free with no signup, no watermark and no daily limit. Blurring runs locally in your browser — photos are never uploaded, and the tool works offline once loaded.
Verwandte KI-Bildtools
Ready to Blur Your Background?
Blur photo backgrounds in one click: drop a photo, click your subject and download portrait-style depth in seconds — free, private, watermark-free.