
Sharpen Image Online
Drop a soft photo, dial in the sharpening strength and download crisper edges in seconds — processed right in your browser. Free, no signup, nothing uploaded.
Drag & drop an image here
or click to browse — JPG, PNG, WebP and more
Files are processed entirely on your device — nothing is uploaded to any server.
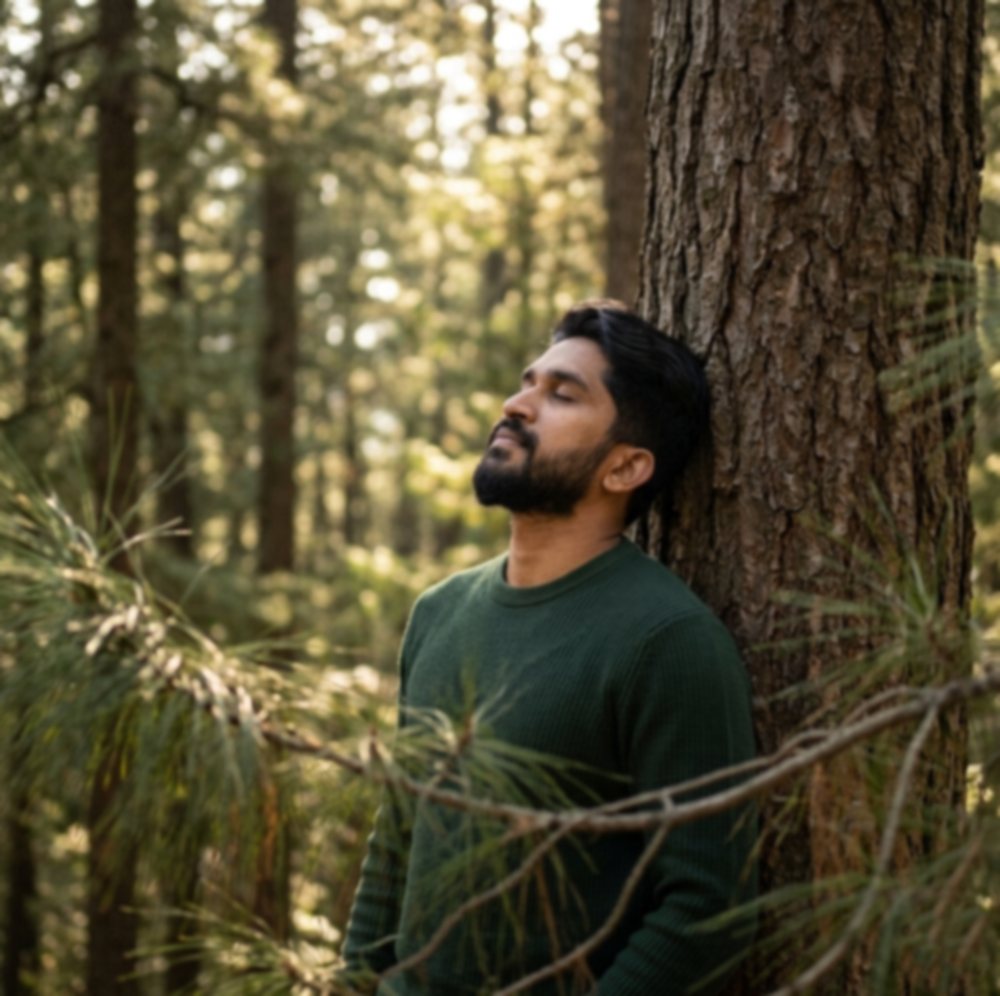
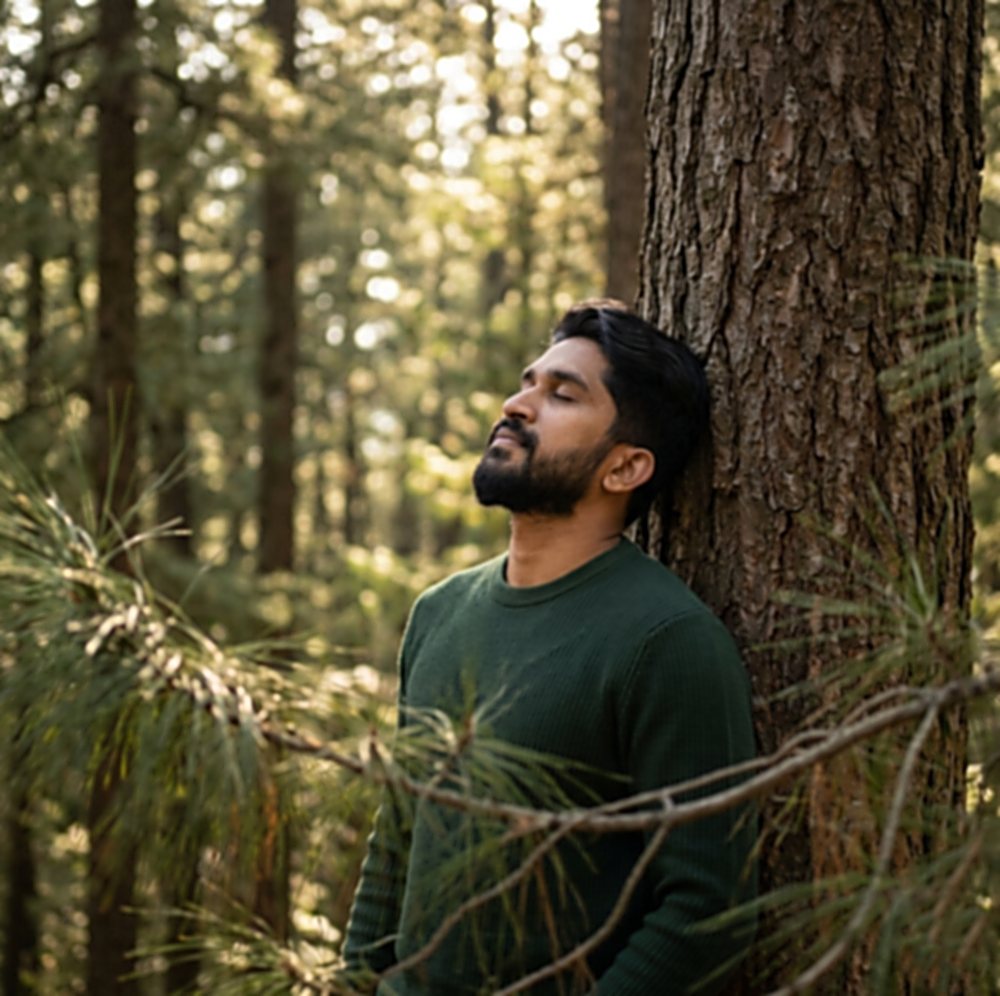
Soft photo in, crisp photo out
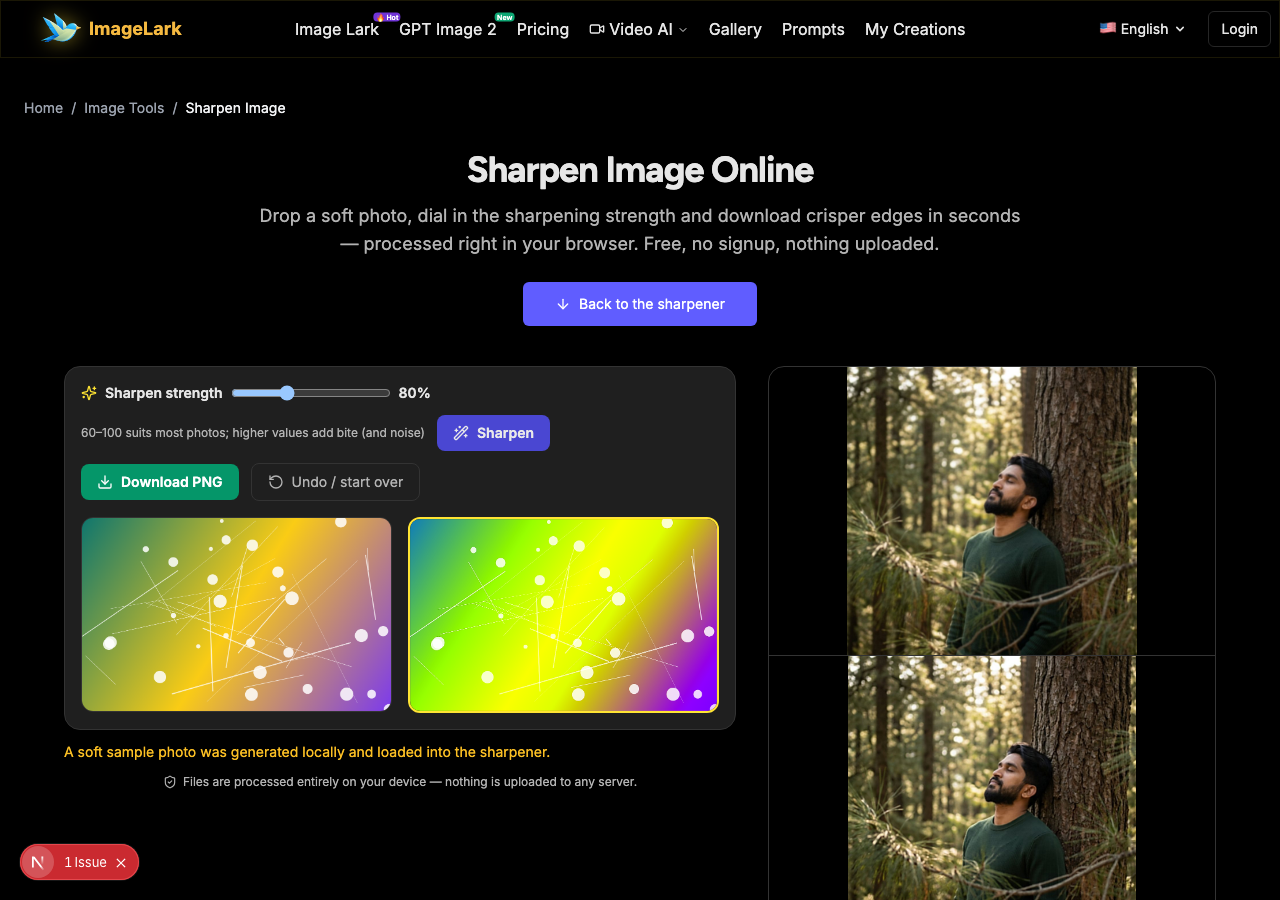
Top: a soft forest portrait where the needles and bark have gone mushy. Bottom: after unsharp masking — bark texture, pine needles and eye detail come back.
Free & unlimited
Sharpen as many photos as you like.
100% private
Processed on your device — never uploaded.
True unsharp mask
The classic pro sharpening algorithm.
Instant preview
Compare strength before you download.
Free Online Image Sharpener
This free online sharpener brings soft photos back into focus with a true unsharp mask — the same algorithm photo editors have used for decades. Edges gain contrast, texture regains bite, and details that went mushy from downsizing, compression or a slightly missed focus come back to life. One strength slider controls the effect, with a live before/after preview.
Everything runs inside your browser tab: the image is sharpened locally and never touches a server, so there is no upload wait, no file limit and no privacy trade-off. Sharpening is the finishing move for almost every photo workflow — after resizing, after compression, after scanning — and doing it in the browser means the last step of your pipeline costs nothing and leaks nothing.
How to Sharpen an Image in 3 Steps
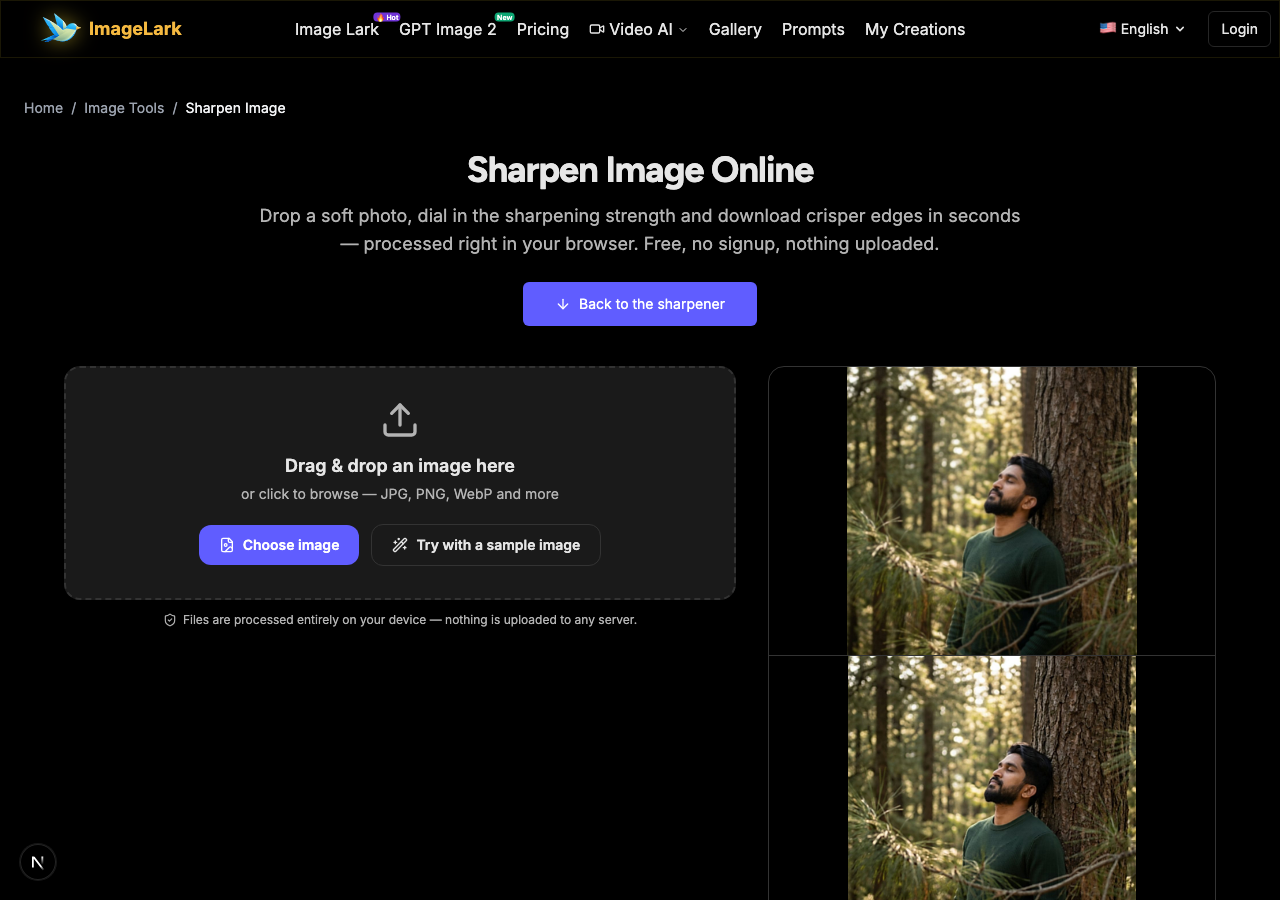
STEP 1
Add your image
Drag and drop a JPG, PNG or WebP file onto the tool above, or click to browse. You can also press “Try with a sample image” — it loads a soft photo so you can see the effect immediately.
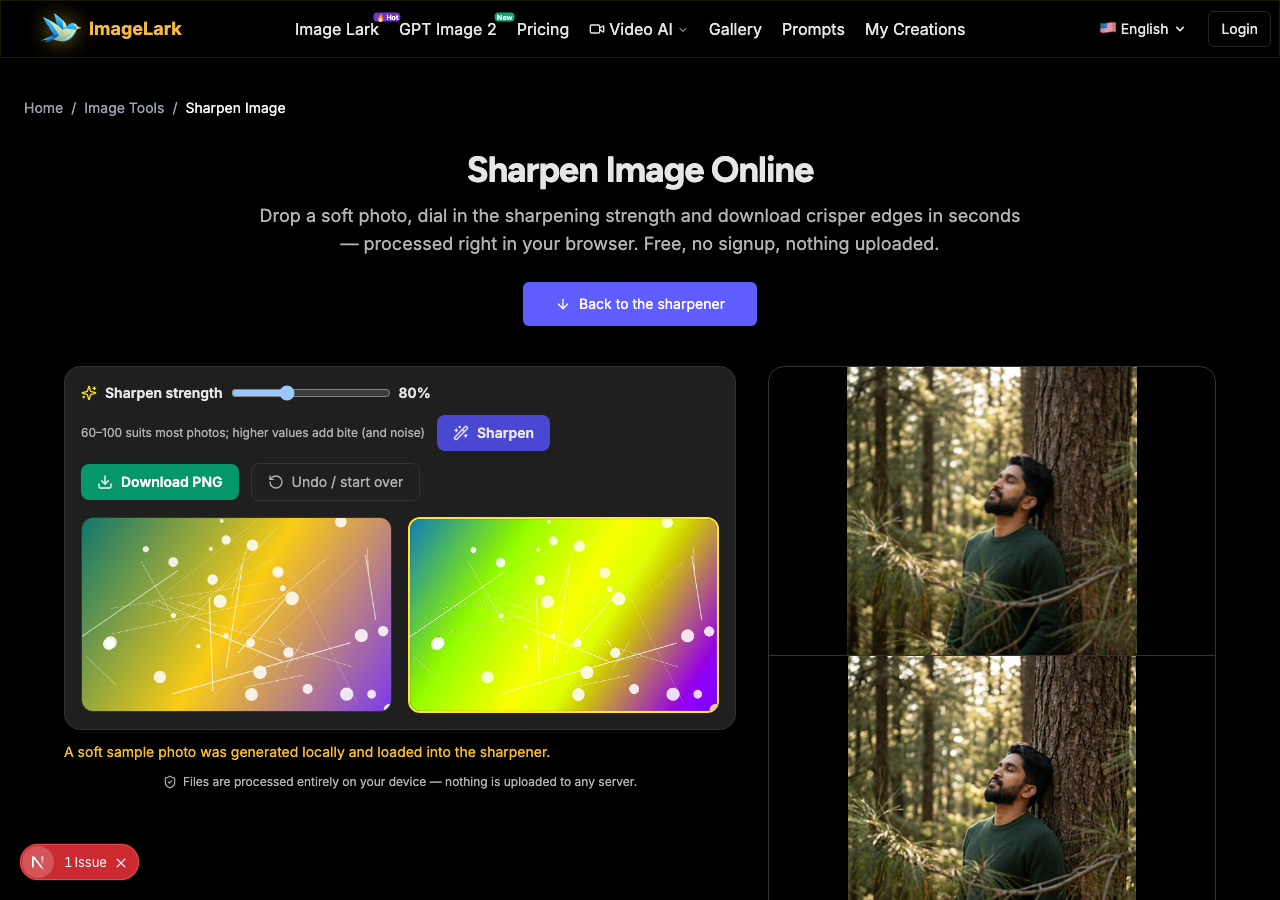
STEP 2
Dial in the strength
Move the sharpen-strength slider and press “Sharpen”. The dual preview shows the original and the sharpened version side by side — edges should gain definition without halos or crunchy noise.
STEP 3
Download the crisp image
Happy with the definition? Download it as a clean, watermark-free PNG. Overshot into noise? Dial the strength down and re-apply — the original stays untouched.
Why Use ImageLark to Sharpen Images
Free with no limits
Sharpen one portrait or a whole set of scans, one image at a time — no credits, no account, no watermark. It is a browser tool, not a trial.
A real unsharp mask
This is the classic sharpening algorithm from professional editors — edges are boosted by comparing each pixel to a blurred copy of the image — not a contrast filter pretending to be sharpening.
Your photos stay on your device
Sharpening runs in your browser tab with local pixel processing. Nothing is uploaded or stored, and results appear instantly because there is no server round-trip.
Side-by-side preview
The original and sharpened versions sit next to each other, so you can tune the strength until edges pop without halos — then download exactly what you approved.
Sharpen vs Unblur vs Upscale: The Clarity Trio
Three tools claim to make photos clearer, and they solve three different problems. Sharpening (this page) adds edge contrast to an image that already has its detail — it makes soft photos punchy. Unblurring is rescue work: AI models reconstruct detail that focus errors or camera shake genuinely destroyed. Upscaling increases resolution, inventing new pixels to make a small image bigger.
Pick by symptom. If the photo looks flat and soft but everything is still recognizable — after resizing, compression or scanning — sharpen it here; it is instant, free and local. If the photo is genuinely out of focus or motion-blurred, sharpening will only amplify the mush: send it to the AI unblur tool instead. And if the problem is that the image is simply too small for its destination, the AI upscaler enlarges it first — then finish with a light sharpen.
Two honest warnings. Sharpening cannot create detail that was never captured — it exaggerates what is there, which is why oversharpening produces halos along high-contrast edges and amplifies noise in flat areas; keep the strength moderate on noisy night shots. And sharpen AFTER resizing, not before: resizing undoes sharpening, so the efficient order is resize first, sharpen last.AI upscaler
Same family: the AI photo enhancer handles overall quality, the flip tool and rotator fix orientation.
Use Cases: Who Sharpens Images
Documents & scans
Scanner output and photographed documents go soft. A moderate sharpening pass makes small text crisper before OCR, printing or archiving.
Web & social readying
Resizing for a blog, marketplace or social post softens every image. Finish with sharpening so thumbnails and banners keep their snap.
Photo finishing
Portraits, landscapes and product shots straight from the camera are deliberately soft from anti-aliasing filters — the last-mile sharpening makes them print-ready and screen-punchy.
Frequently Asked Questions
How do I sharpen a blurry photo?
Drop it on this page, set the strength around 60–100, press “Sharpen” and compare the preview. If the photo is only soft from resizing or compression, this restores the snap. If it is genuinely out of focus, sharpening cannot rescue it — that is a job for AI unblurring.
What's the difference between sharpening and unblurring?
Sharpening increases edge contrast on detail that already exists; unblurring uses AI to reconstruct detail that was destroyed by focus or motion errors. Sharpening is instant and local; unblurring is a heavier model-based rescue. Soft-but-recognizable → sharpen. Blur-smear → unblur.
Can sharpening fix an out-of-focus photo?
Not really. An out-of-focus photo has lost its detail optically; sharpening amplifies what remains and can make the blur look harsher. For truly misfocused shots, try the AI unblur tool — and for mild softness, this sharpener is the right, fast tool.
Why does over-sharpening look bad?
Too much strength creates bright and dark halos along edges, amplifies grain into crunchy noise, and makes skin look gritty. Stay near 60–100 for photos, go higher only for text and screenshots, and always judge on the side-by-side preview before downloading.
Should I sharpen before or after resizing?
After. Resizing (especially downscaling) softens edges and undoes sharpening, so the efficient order is: resize to final dimensions first, then sharpen lightly. Sharpening before a big downscale wastes the effect.
Is the sharpen tool free to use?
Completely free with no signup, no watermark and no daily limit. Sharpening runs locally in your browser — photos are never uploaded, and the tool works offline once loaded.
Related AI Image Tools
Ready to Sharpen Your Image?
Drop it above, dial the strength and download a crisper photo in seconds — free, private, watermark-free.